Enterprise storage failures rarely happen at a convenient time. They also rarely happen in environments that are perfectly prepared for them. This post is about one of those real-world cases where a Synology UC3200 storage pool crash brought down iSCSI Logical Unit Numbers (LUNs) and the VMware ESXi datastores sitting on top of them — with no Uninterruptible Power Supply (UPS) in place, no offsite backup, and a customer who had no intention of changing any of that. The good news: we recovered everything without replacing a single drive.
This is not a story about a perfect infrastructure. It is a story about methodical troubleshooting, understanding how RAID actually works under the hood, and knowing which recovery levers to pull — and in what order. If you manage Synology enterprise storage connected to VMware ESXi hosts, there is something useful here regardless of whether your environment is as constrained as this one.
Environment Overview
| Component | Details |
|---|---|
| Primary Storage | Synology UC3200 (Unified Controller, dual-controller) |
| Extension Unit | Synology RXD1219sas |
| DSM UC Version | DSM UC — Unified Controller OS (customer version withheld) |
| Connected Servers | VMware ESXi hosts |
| ESXi Version | ESXi (customer version withheld) |
| Storage Connectivity | iSCSI LUNs presented to ESXi |
| Datastore Type | VMware File System (VMFS) on iSCSI LUNs |
| Backup Strategy | Local backup only (customer decision) |
| UPS | None |
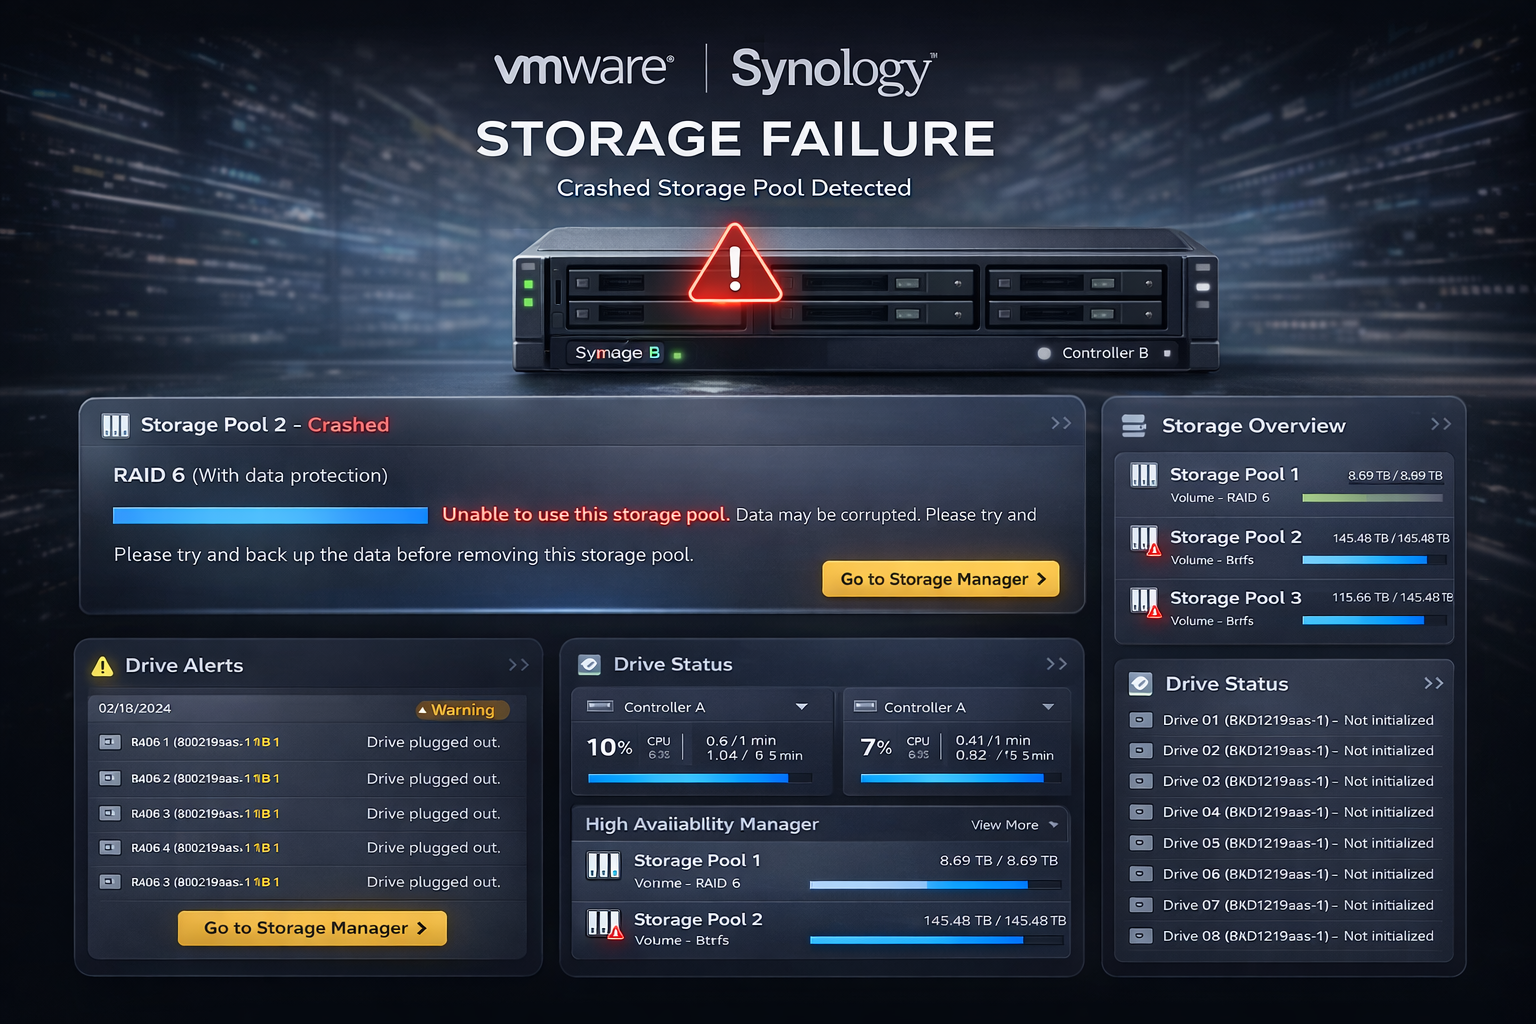
The Problem
Storage Pool 2 on the Synology UC3200 crashed. From the Synology Storage Manager perspective, the pool was in a degraded/crashed state and unavailable. The LUNs backed by that pool were no longer presenting data through their Internet Small Computer Systems Interface (iSCSI) targets, and the VMware ESXi hosts that relied on those datastores were impacted.
The customer’s immediate concern was simple: get the data back without spending money on new hardware.
Synology UC3200 Storage Pool Crash: Investigation and Troubleshooting
Step 1: Assess the Physical Drives
The first thing I checked was the physical condition of every drive in both the UC3200 and the RXD1219sas extension unit. Before assuming the worst — a multi-drive failure, a corrupted RAID configuration, or a controller meltdown — it is worth ruling out the obvious.
All drives came back healthy. No reallocated sectors, no pending errors, no drive failures reported by Self-Monitoring, Analysis and Reporting Technology (SMART) or the Synology disk health interface. This was a significant finding. A crashed pool with all healthy drives usually means the problem is logical, not physical — though it is worth noting that healthy SMART results rule out physical drive failure but do not rule out filesystem-layer corruption (Btrfs journal, LVM metadata, or ext4 journal damage caused by an unclean shutdown). The subsequent steps were specifically designed to distinguish between those possibilities.
Step 2: Verify RAID Configuration Integrity
With healthy drives confirmed, the next step was to check whether the Redundant Array of Independent Disks (RAID) metadata was still intact on the drives. A power event without a UPS — which is exactly what this customer had experienced — can sometimes corrupt the RAID superblock or cause inconsistent state flags across members.
The investigation showed that the RAID configuration was intact on all drives. The array had not lost its membership information. The drives still knew they were part of the same array.
Step 3: Check Array UUID Consistency
This is a step that separates a thorough investigation from a surface-level one. Each RAID array has a Universally Unique Identifier (UUID) baked into the metadata of every member disk. If a drive has a mismatched UUID, Linux’s mdadm — the software RAID management tool that runs under the hood of Synology’s storage stack — will refuse to assemble the array cleanly.
I confirmed that the array UUID was identical across every disk, and that all disks were visible to the system. No missing members, no UUID mismatches. The array was structurally sound — it just was not assembling and coming online.
At this point the picture was becoming clearer: this was not a hardware failure or a data corruption event. Something had caused the pool’s runtime state to get stuck or flagged as crashed, likely as a direct result of an unclean shutdown without a UPS to give the controllers time to flush and park cleanly.
Step 4: The Interesting Discovery — Data Still Visible to the Connected Server
Here is where things got a little funny, in the way that only storage incidents can be funny.
Even though Storage Pool 2 was showing as crashed in the Synology interface, the ESXi server that had been connected to the LUNs could still read the data inside them. The VMware File System (VMFS) volumes were still accessible from the host side. The server was happily talking to storage that the storage system itself considered offline.
This happens because iSCSI sessions and VMFS mounts can persist in a cached or stale state on the initiator side even after the target-side pool goes down. It is a testament to how resilient the VMFS journaling layer can be — but it is also a reminder that “I can still see the data” does not mean everything is fine. You are essentially reading from a ghost. Write operations in that state are a consistency nightmare waiting to happen.
This is important: do not let the fact that data is still visible from the host side lead you to believe the storage is healthy. It is not. Treat it as read-only at best and stop all writes immediately if you are ever in this situation.
Step 5: Reboot One Controller to Recover the Crashed Pool
Given that the drives were healthy, the RAID metadata was intact, and the UUIDs matched, the issue pointed to a controller-side state problem — something that a clean reboot could potentially resolve by forcing a fresh array assembly.
A note before describing this step: the UC3200 is a dual-controller active/active system with built-in High Availability (HA) managed by Synology’s High Availability Manager (HAM). Rebooting one controller on this platform is not the same as rebooting a single-controller NAS — it triggers a controlled failover event where the surviving controller takes ownership of all pools and LUNs. Before proceeding, I confirmed that the HAM status showed the second controller as healthy and capable of taking over. Do not reboot a controller on a UC3200 without first verifying the HA state — if both controllers are in a degraded condition, a reboot could make things worse.
I rebooted the controller that owned Storage Pool 2 (the active controller for that pool). The second controller took over cleanly during the reboot.
Storage Pool 2 came back online.
The array assembled cleanly, the pool status returned to healthy, and the Synology Storage Manager showed everything as it should be. No rebuild, no data recovery procedure, no drive replacement. A controller reboot resolved a pool crash that looked alarming on the surface.
If the pool does not come back after a controller reboot: do not attempt to force-assemble the array manually or proceed with trial-and-error commands. The next step would be a manual mdadm --assemble from the Synology support shell, but at that point you are beyond standard self-service recovery and should open a case with Synology Support directly. The risk of data loss rises significantly once you start issuing assembly commands on a pool that is refusing to come online cleanly — let the vendor guide you through it.
Post-Recovery: Remapping iSCSI LUNs and Restoring VMFS Datastores
Recovery of the storage pool was not the end of the story. Two additional problems surfaced immediately after the pool came back online.
Step 6: Re-Attach Detached iSCSI LUNs to Their Targets
Once Storage Pool 2 was healthy again, the LUNs that were backed by it were no longer attached to their iSCSI targets. Synology had effectively orphaned them during the crash/recovery cycle. They existed as objects on the pool but were no longer being served through the iSCSI target configuration.
The fix was straightforward: go into the Synology iSCSI Manager, identify each affected LUN, and manually re-map each one back to its corresponding target. After doing so, the targets began advertising the LUNs again to connected initiators.
Tip: LUN detachment after pool recovery is common and expected on Synology (and most enterprise SAN platforms). Always check your iSCSI target mappings as the first step after a pool recovery — before touching anything on the host side.
Before moving to the ESXi side, trigger a storage rescan on each affected host so the hosts rediscover the re-advertised LUNs. Without a rescan, some hosts may not detect the returning storage promptly. You can do this from the vSphere Client (select the host → Configure → Storage Adapters → Rescan Storage) or via the CLI:
esxcli storage core adapter rescan --all
Once the rescan completes and the LUNs are visible, the hosts will flag the VMFS volumes as snapshot copies — which leads to the next step.
Step 7: Restore ESXi VMFS Datastores Showing as Snapshots
After the LUNs were re-attached to their targets and the ESXi hosts could see the storage again, the VMFS datastores did not simply remount cleanly. Because the storage had disappeared and reappeared from the ESXi perspective, VMware treated the VMFS volumes as snapshot copies rather than live datastores.
This is standard VMware behavior when a VMFS volume goes offline and comes back — the host cannot be certain whether it is seeing the original volume or a replica, so it flags it as a snapshot and waits for administrator confirmation before mounting it as a live datastore.
To resolve this, I used the following ESXi CLI commands on each affected host. Run these on every ESXi host that had the datastores registered — not just one. In a cluster, once one host has completed the mount cleanly, vCenter should resume normal datastore visibility across the cluster, but running the commands on all affected hosts avoids stale state on individual nodes.
Step 7a: List detected VMFS snapshot volumes
esxcli storage vmfs snapshot list
This returns a list of VMFS volumes that ESXi has detected as snapshots, including their volume labels and UUIDs. The output will show fields like VMFS UUID, Volume Name, and Can mount. Verify that the labels and UUIDs match your expected datastores before proceeding — do not mount anything you do not recognise.
Step 7b: Mount each snapshot volume as a live datastore
The -l (label) and -u (UUID) flags are mutually exclusive — use one or the other to identify the volume:
# Mount by datastore label:
esxcli storage vmfs snapshot mount -l <datastore-label>

# OR mount by VMFS UUID:
esxcli storage vmfs snapshot mount -u <vmfs-uuid>
Run this for each affected datastore. Note that this command mounts the volume without resignaturing, which is the correct approach here. Resignaturing would assign the VMFS volume a new UUID, breaking all existing VM inventory references on every host that had that datastore registered — avoid it. The mount performed this way is also persistent across ESXi host reboots by default (the -n flag would make it non-persistent; omitting it, as shown, gives you a persistent mount).
After mounting, the datastores appeared in the vSphere inventory as normal, live datastores.
For further reading on this behavior, see Broadcom KB 323142 — Troubleshooting LUNs detected as snapshot LUNs in vSphere.
Step 8: Reboot Affected Virtual Machines
Even after the datastores were remounted cleanly, the virtual machines running on them were in a stuck or unresponsive state. This is expected — the underlying storage had been unavailable and the VMs had been waiting on I/O that never returned.
A reboot of every affected VM resolved the issue. All virtual machines came back up normally with no data loss.
Important Notes and Caveats
The absence of a UPS is the root cause of this incident. An unclean shutdown — caused by a power event that the UC3200 had no warning of — is what put the storage pool into a crashed state. Every single troubleshooting step in this post exists because there was no UPS. With a UPS, the controller would have had time to flush write caches and shut down gracefully, and Storage Pool 2 would likely have survived the power event without any intervention.
Do not write to storage you suspect is in an inconsistent state. As noted above, the fact that the ESXi host could still read LUN data while the pool was crashed does not mean writes are safe. If you find yourself in a similar situation, stop all write I/O to the affected storage immediately and assess from the storage side first.
LUN detachment after pool recovery is common and expected. Synology (and most enterprise SAN platforms) will detach LUNs from targets when the backing pool crashes. Always check your iSCSI target mappings after a pool recovery before touching anything on the host side.
The VMFS snapshot behavior on ESXi is by design — and resignaturing is the wrong response. Do not force-mount or resignature datastores using the vSphere GUI. Resignaturing changes the VMFS UUID, which immediately breaks all VM inventory references on every host that had that datastore registered, and can cause data inconsistency in a cluster. The esxcli storage vmfs snapshot mount approach preserves the original UUID and is the safe, supported recovery method. See Broadcom KB 323142 for the full explanation.
After recovery, a consistency parity check will run automatically on the Synology. This is normal and expected — the system needs to verify that all RAID parity data is consistent after an unclean shutdown. During this check, storage performance will be noticeably reduced. Depending on the array size and drive speed, this check can take several hours to complete. You can monitor its progress directly in Synology Storage Manager — the active check typically shows as a status indicator on the pool overview panel. Note that Storage Pool → select the pool → Action → Check Parity Consistency is also the menu item used to initiate a manual parity check, not just to view one; if the automatic check started on its own after recovery, look for the progress on the pool’s status panel rather than triggering the action again. Inform operations teams so they are not alarmed by the performance degradation, and avoid running any storage-intensive workloads during this window if possible.
Lessons Learned and Recommendations
1. A UPS is not optional for enterprise storage. This is the single most important takeaway from this entire incident. An Uninterruptible Power Supply gives storage controllers the few seconds they need to flush caches and shut down cleanly. The cost of a UPS is a fraction of the cost of an emergency recovery engagement, and a tiny fraction of the cost of data loss. The customer in this case got lucky. Luck is not a strategy.
2. RAID metadata and UUID consistency checks should be part of your diagnostic runbook. Before assuming hardware failure, always verify that the array UUID is consistent across all member drives and that all members are visible. A crashed pool with consistent UUIDs and healthy drives almost always has a logical solution.
3. Know the ESXi VMFS snapshot recovery commands before you need them. The esxcli storage vmfs snapshot commands are not well-known outside of storage-focused VMware administrators, but they are essential any time iSCSI storage goes offline and comes back. Have them in your runbook.
4. Controller state problems can look catastrophic but resolve cleanly. A storage pool in a crashed state is alarming. But if the drives are healthy and the RAID configuration is intact, a controller reboot is a low-risk, high-reward first recovery step. Do not immediately jump to rebuild or replacement procedures.
5. A local-only backup strategy means your recovery options are limited to what is on-site. In this case, we were fortunate to recover without needing to restore from backup at all. That will not always be true. Even if offsite backup or cloud backup is not in the budget today, a second local backup target — even a single external drive for critical data — provides a safety net that pure local-to-array backup does not.
Related: If you are running iSCSI-connected storage with multiple paths on Linux-based platforms, the Proxmox SAS and Multipath configuration guide on this blog walks through Multipath I/O (MPIO) setup from scratch — useful context for understanding how multi-path sessions behave during failover events. For a view of what enterprise all-flash iSCSI performance looks like under controlled conditions, the Huawei OceanStor Dorado iSCSI benchmark on Proxmox VE covers MPIO throughput and latency in depth.
Conclusion
What looked like a serious storage failure turned out to be a controller state problem that resolved with a single reboot — once we had done the work to confirm that the drives and RAID configuration were sound. The follow-on issues with iSCSI LUN detachment and ESXi VMFS snapshot mounting were standard post-recovery steps that any engineer with Synology iSCSI and VMware experience should have in their toolkit.
The real lesson here is not just about the specific commands used, but about the diagnostic approach: start with the hardware, verify the metadata, understand what the hosts are seeing, and work from the storage layer outward. Panic and guesswork cost time and risk data. Methodical investigation, even in a customer environment with constraints you would not choose yourself, gets you to the answer.
If you are managing a similar environment — Synology SAN attached to ESXi, no UPS, local backup only — take this as a nudge to at least have the recovery commands ready. And maybe bring up the UPS conversation one more time.
Have questions or ran into a similar situation? Drop a comment or get in touch.